
If you’re getting into leather work or you have heard of the tool leather edger tool, and you’re wondering what it is, what it can and can not do, then this article is for you. In this article, I’ll discuss everything about the leather edge tool.
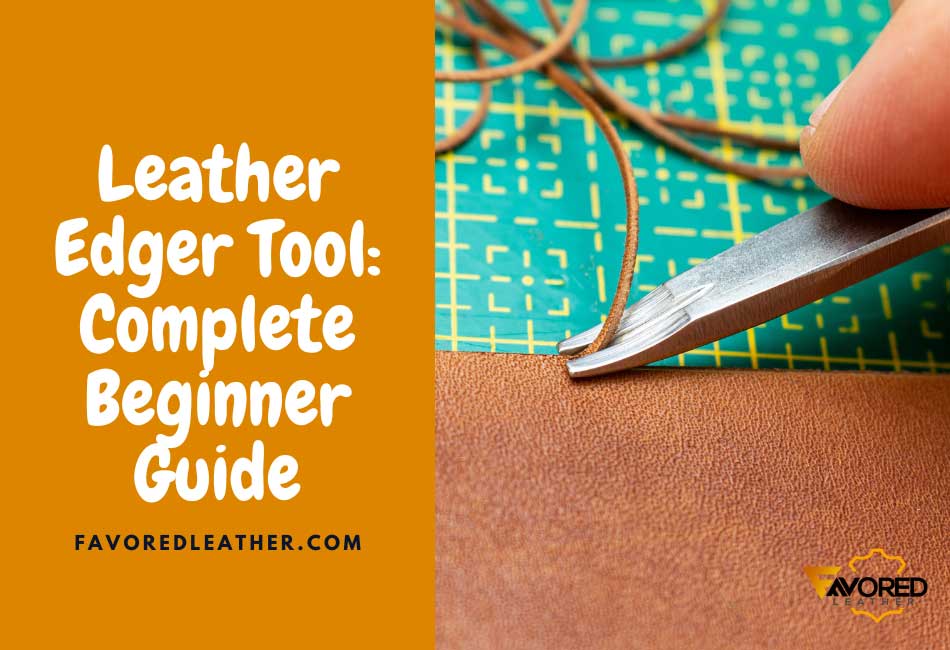
Simply put, a leather edger tool is a must-have leather work tool used to remove the edge off a freshly cut leather or to add a beveled or rounded edge to an existing piece of leather. It is made up of a handle and a blade, and it usually resembles a chisel or a gouge.
Stick around as I discuss everything there is to know about the leather edger tool. I’ll discuss;
- what the leather edger tool is made of,
- what the leather edger tool is used for,
- how to use the leather edger tool,
- How to care for and maintain the leather edger tool, and more.
Let’s get started!
What’s An Edger And What’s It Made Of?
Like I started to touch on earlier, an edger tool is a leather work tool you would use more often than not in your leather crafting journey.
The leather edger tool is also known as or marketed as beveler or leather edge beveler.
It is a hand-held tool that is used to remove the edge from freshly cut leather or to add a beveled or rounded edge to an existing piece of leather. The blades on an edger are usually either straight or curved.
Most edgers will have a handle that is made of wood, metal, or plastic. The blade is almost always made of steel, with a few exceptions. There are a few edgers on the market that have a blade that is made of carbon steel.
The reason the blades are almost always made of steel is that it provides the perfect balance between being sharp enough to make clean cuts and being durable enough to withstand frequent use.
What Is The Leather Edger Tool Used For?
Now that we have a basic understanding of what this simple but efficient tool is and what it’s made of let’s talk about what it is used for.
1. Leather Edger Tool Is Used To Bevel The Square Edge Of Cut Leather
As I stated earlier, the primary use of an edger is to take the squared-off edge of a cut piece of leather and turn it into a smooth bevel.
This is done by simply running the blade along the edge of the leather at whatever angle you desire.
A 45-degree angle is common but feel free to experiment until you find what works best for you and the project you are working on.
The bevel created by the edger will not only look nicer than a squared-off edge but, more importantly, it will help give the edge of leather a nice clean, professional look.
Fun Fact: One of the key differences between a leather work by a professional and an amateur is the neatly beveled edges.
2. Used To Make Stitches Stand Out More
Another common use for an edger is to help make the stitches on a leather project stand out more.
For example, the bulk edge of the leather belt can come in the way of seeing the delicate stitches that hold it all together.
In this case, you can use an edger to take care of the excess leather off from the leather edge and help make those stitches pop.
All you have to do is carefully run the blade along the edge of the belt at a 45-degree angle, being extra careful not to cut into the stitches–if your stitches are already done.
Doing this will help create a nice clean look for the belt while also allowing you to see and appreciate the hard work that went into making it.
3. Help Make Thonging Easier
Thonging is a decorative leather technique, and an edger can help make this process a whole lot easier and more professional looking.
Nothing beats a nicely beveled leather edge with a beautiful cordovan thonging technique running along it.
Using a leather edger tool before doing something as simple as running stitching (also another thonging technique) can help make the stitches look much neater and more uniform.
If you are not familiar with thonging, it is a process of braiding one, two, three, or more strips of leather together to create a decorative element on the edge of a leather project.
This is commonly seen on belts, wallets, and other similar leather goods.
4. Leather Edger Is Used To Make Burnishing Easier
If you want your leather projects to have a professional look, burnishing is a great way to achieve that.
Burnishing is the process of using friction and heat to create a shiny, smooth surface on leather.
A great rule of thumb when it comes to finishing leather edges is to carefully bevel the edge with an edger, apply some wax, and then burnish it with a wood slicker.
Using the leather edger tool first before burnishing your leather edges is a good way to give the leather a beautiful and professional-looking shine that will make it really stand out.
5. Gives Painted Leather Edges A Clean Look
Last but not least, an edger can also be used to give painted leather edges a clean look.
This is particularly useful if you are working on a project that you’re going to have your leather edges painted.
You and to start by sanding the leather edges and then beveling them with an edger before you start painting them.
Doing this will help give the edges a clean and professional look that is free of any unwanted nicks or cuts.
How To Use The Leather Edger Tool
I know I have a couple of spoilers above, but I want to show you how to use the leather edger tool in more detail.
Using an edger is a pretty straightforward process, but there are a couple of things you need to keep in mind if you want to get the best results.
- First and foremost, always use a sharp blade. A dull blade will not only make it harder to get a clean cut but, more importantly, it is much more likely to slip and cause you to make a mistake.
- If you are new to using an edger, I would highly recommend starting with a relatively thin blade like this one by Tandy Leather. This will help you get a feel for how the tool works and also help minimize the risk of making a mistake.
- Once you have your blade, the next thing you need to do is decide on the angle you want to cut at. For most leather projects, a 45-degree angle is going to be the best option as it provides a good balance between being able to get a clean cut and being able to see what you’re doing.
- Finally, once you have your blade and angle sorted out, it’s time to start cutting.
- When you are cutting, it is important to go slowly and be careful not to apply too much pressure.
- Applying too much pressure is one of the most common mistakes people make when using an edger, and it can easily lead to a slip-up that ruins your project.
- You may have to go over your cuts a few times to get a clean edge.
How To Care For And Maintain The Leather Edger Tool
If you want your leather edger tool to last, it is important to take care of it and keep it well-maintained.
- Wipe down your leather edger with a dry clean cloth before and after use.
- Sharpen your blades regularly, and if you notice any rust or damage, take the time to fix them as soon as possible.
- Always replace your leather edger tools back into their leather case when you are finished using them.
- Always use your leather edger tools for the right applications. Trust me, you will, at a point, try to open a glue can or scoop or apply glue with it, and this will damage the blade.
- Do not use your leather edger tools as a screwdriver, pry bar, or anything else other than what they are meant for.