
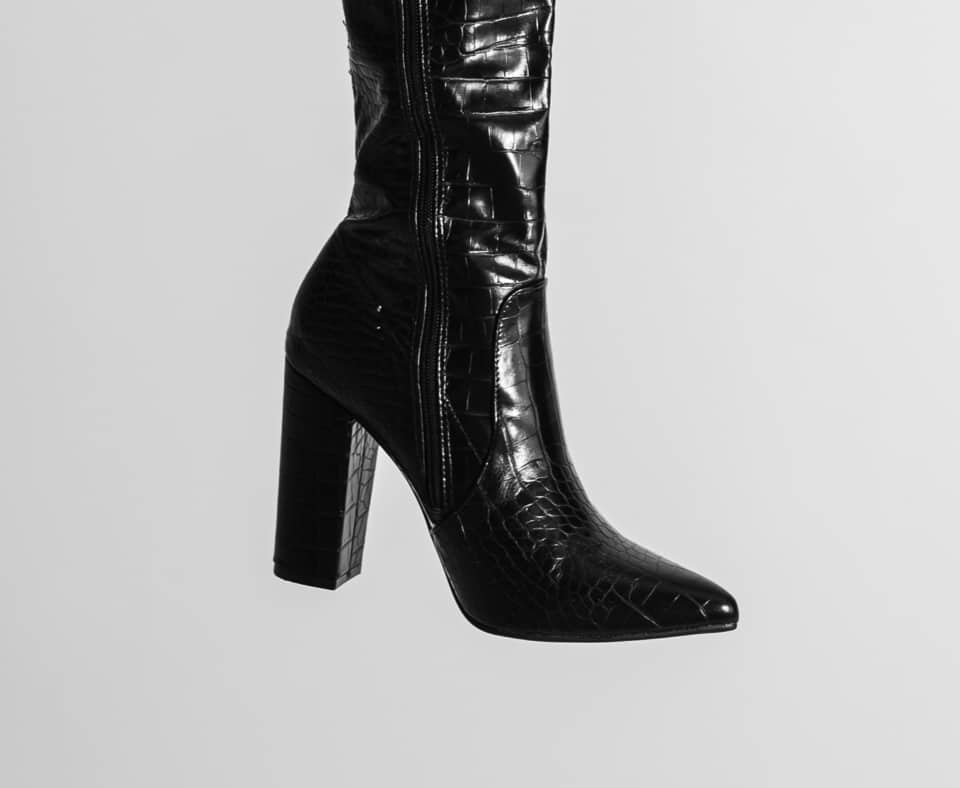
You’re likely to easily scratch or find more scratches on patent leather items than any other item. This can be a little disappointing as any small amount of scratches on patent leather is usually very easy to notice. So in this article, I’m going to share with you 3 effective ways to fix scratches on patent leather items like shoes, bags, jackets, etc.
So how do you fix patent leather scratches? You can fix patent leather scratches by using special patent leather cleaners to remove the scratch marks or using a leather conditioner together with some form of colored leather polish. Alternatively, you can use a leather filler to nicely even out and remove scratches on your patent leather items.
To learn the details about the methods mentioned above – like the materials needed and the step-by-step guides on how to fix or remove scratches from your patent leather, keep reading this article.
1. Patent Leather Cleaner Method
There are a lot of leather cleaners on the market but most cannot treat scratches on patent leather items. One product I found which does a great job when it comes to removing scratches and scuffs particularly well from black patent leather is the Saphir Vernis Rife Patent Leather Cleaner.
Not only does the Saphir Vernis Rife Patent Leather Cleaner fix serious scratches on black patent leather alone but it also comes in a neutral patent cleaner that can help to remove minor scratches from other colors of patent leather items as well.
When you use the Saphir Vernis Rife Patent Leather Cleaner, you will be able to clean, shine, nourish, and protect your patent leather items from developing cracks.
But like I mentioned before, this made-in-France product is going to give you the best results when used on black patent leather items that have gotten some scratches on them.
Below is a step-by-step guide on how to use this method to remove scratches from your patent leather goods.
Things Needed:
- Saphir Vernis Rife Patent Leather Cleaner or anything similar
- 2 Microfiber cloths
Procedure:
Step 1
Use a soft microfiber cloth or a very clean soft cloth to gently remove or dust off any form of loose dust particles or debris from the surface of the patent leather item.
Usually, this is important because if you do not remove such surface particles and you go on to rub your rag on the patent leather, a lot more scratches will appear.
Step 2
Put some form of protection on your working surface to prevent any spills from staining your desks or tables.
Step 3
Pick up your Saphir Vernis Rife Patent Leather Cleaner or any similar product and shake the bottle thoroughly.
Normally because these sorts of products contain dyes you would want to shake the bottle very well so that the dyes are will mixed, evenly saturated, and charged for the application.
Before you pick up the bottle to shake, make sure it is tightly sealed. You do not want to create another mess as a product like the Saphir Vernis Rife Patent Leather Cleaner will definitely stain anything it comes into contact with.
Step 4
Load a generous amount of the Saphir Vernis Rife Patent Leather Cleaner onto your soft microfiber cloth.
You want to make sure the cloth is not soaking wet and dripping all over.
Step 5
Now apply the product onto the surface of your patent leather, working it into the scratched areas of the patent leather.
The product will go into the cravices of the scratches, clean it, nourish it, and seal it while dyeing it in the process.
This really makes the scratches less obvious and helps blend any other blemishes. You want to make sure to cover the entire surface of the patent leather item so that the entire surface looks even when the treatment is done.
Step 6
After you have thoroughly cleaned the entire surface of the patent leather item, leave it to air-dry for about 3-5 minutes.
Step 7
Now use a soft clean microfiber cloth to gently buff the entire surface of the patent leather to bring the patent leather item to a nice even shine.
At this point the scratches you had on the surface of your patent leather should be gone or substantially faded.
2. Conditioner And Colored Polish Method
The Conditioner & Colored Polish Method is particularly great for removing small scratches from the surface of patent leather items and can also be used to hide or minimize the appearance of scratches.
If you own a real leather item, you will already know how important leather conditioners are to the overall well-being of the leather item.
Leather conditioners are used to nourish leather from time to time so that the leather does not dry out or crack.
Leather conditioners are particularly important for use whenever leather comes into contact with water by way of the leather getting wet, exposed to humid conditions, or when the leather item has been washed.
Patent leather items will generally need very little to no conditioning but in the situation where the patent leather item has developed scratches using a leather conditioner plays a really important role in its restoration.
Not only will you need a leather conditioner. As hinted in the heading above, you will also need a good colored leather polish. Now here’s a complete list of things you will need and the procedures needed to fix scratches on your patent leather items.
Things Needed:
- Soft clean rag, cloth, or horsehair brush
- Pigmented Polish
- Leather Conditioner
- Microfiber Cloth
Procedure:
Step 1
Wipe off or remove any sort of dust or dirt from the surface of the patent leather with a clean cloth or soft horsehair brush.
This will be very important so that when you’re subsequently rubbing in the leather conditioner you do not add more scratches to your patent leather surface.
Step 2
Apply your leather conditioner with a soft microfiber cloth.
The way the leather conditioner helps in fixing the scratches on the patent leather is to swell the fibers inside of the scratches to help minimize the visibility of the scratches.
So condition the leather thoroughly and ensure every surface of the patent leather item is completely covered.
You would want to ensure you apply the leather conditioner following the specific application instructions on the leather conditioner you pick out.
Step 3
After applying the leather conditioner, you would want to leave the patent leather item to thoroughly dry.
Step 4
Once the conditioned patent leather has thoroughly dried, you can now apply your polish. Load a liberal amount of polish onto your applicator microfiber cloth and begin to polish it over the surface of the patent leather.
Pro Tip: Go for leather polish that slightly matches the color of the patent leather item you’re trying to fix
Remember, the type of polish you would be using is the pigmented or colored polish. This will help to nicely cover up the scuffs and scratches that the leather conditioner covered slightly while leaving a nice clean shine.
At this point the scratches you will be having on your patent leather item should be significantly less visible.
Step 5
With the help of a soft clean microfiber cloth, buff off the polish to leave a nice clean even shine.
Step 6
Leave the patent leather item to air dry overnight. Voila!
3. The Leather Filler Method
The leather filler method is one of the best ways to fix scratches on the surface of your patent leather items. This method will generally not work on all kinds of patent leather items but those that are more or less stationary leather items.
Meaning patent leather shoes, boots, jackets, etc may not work with this method as these types of leather items are often flexed when in use.
So simply put, this will work on patent leather items or parts of patent leather items that do not flex, crease or bend when in use.
During my research for this method, I found white glue and some other types of glue to function very similar to what the leather filler does when fixing scratches on patent leather items.
But the only problem is glues when used to fix scratches are often temporal fixes to the problem and will only look great in the short term but the patent leather will eventually be negatively affected in the long term and look worse than the original scratch.
So for the purpose of this article, I will show you how to use a leather filler to fix scratches on patent leather items for the very best results.
Things Needed:
- Leather Cleaner
- Leather Filler
- 1200 Grit Sandpaper
- Rubbing Alcohol
- Colored Patent Leather Polish
Procedure:
Step 1
Clean the patent leather item thoroughly with a good leather cleaner to get rid of any form of dirt, dust, or grime.
Step 2
After cleaning the patent leather, leave it to air-dry.
Step 3
After the leather is dry, load the spatular that comes with the filler and begin to apply it to the areas of the patent leather with the scratches.
You would want to make sure the leather filler fills up the crevices created by the scratches on the patent leather nicely and as evenly as possible.
You can use the spatula to smoothen it over and remove any excess filler. More importantly, you would want to apply the leather filler in a series of very thin layers.
In the case of severe scratches and you need to apply multiple layers of the leather filler, you would want to wait for each layer to dry first (usually between 15-20 minutes) before applying another layer.
Step 4
Use a 1200 grit fine sandpaper to sand down the areas of the patent leather you applied the leather filler to.
Sanding the surface you applied the filler to slightly will help to make sure the surface of the patent leather is even.
However, you would want to be as gentle and as precise as possible so that you do not add more scratches to the patent leather surface.
Step 5
Using your rubbing alcohol, wipe the surface of the patent leather where you just sanded to remove any form of dirt, debris, or residue as a result of the sanding.
Step 6
Condition your patent leather item at this point and leave it to air dry. You would want to do this because using alcohol on leather can cause your leather to dry up. So it’s very necessary to condition leather whenever it comes into contact with alcohol.
After you have conditioned your patent leather, leave it in a cool dry place to air-dry.
Step 7
Once this is done, you would want to use your colored leather polish or a leather colorant matching the color of your patent leather item to polish the patent leather.
Make sure the colored leather polish or leather colorant matches the color of your patent leather item. Apply very thin layers of the leather polish or leather colorant at a time and leave each application to completely dry before adding more layers.
Step 8
Buff the surface of the patent leather to put a nice clean shine on the surface of the patent leather.
Step 9
Leave the patent leather item to dry.
Conclusion
All in all patent leather items will always take on scratches and scuffs with time and wear. Even if you use patent leather protectants, scratches are inevitable. So while it’s going to be a herculean task to completely avoid scratches from patent leather items, your focus will basically be on lessening the amounts that appear on your patent leather and managing the existing scratches.
Personally, I have learned to embrace the wear my leather items take on with time. What I like is, with time, the scratches, stains, and scuffs my leather items accumulate gives my leather item character and some form of time stamp of memories.
All I do is to ensure I condition and polish my patent leather items regularly to help minimize any future occurences of scratches while helping to obscure the ones that are already on the patent leather item.
But if you’re the type who cannot stand the sight of scratches when they so happen on your patent leather items, you will be able to remove both severe and minor scratches with the 3 methods I have shared in this article.
Tip 1: Remember to test out each of the methods shared in this post in an inconspicuous part of the patent leather item before applying it on the entire surface of the patent leather item.
Final Tip 2: Minimize your expectation on how the methods discussed are going to help your scratch situation as the result will differ from person to person due to factors like the number of scratches, size of the scratches, depth of the scratches, and how long the scratches occurred.